10stepstodrawing.com

Icon

Easy Shiv Parvati Pencil Sketch

Introduction

Here in this article we are gonna guide you to create easy shiv parvati pencil sketch. Pencil art or any drawing art don’t need words it needs consistent practice. But still everything start with simple and easy things.

Easy Shiv Parvati Pencil Sketch

Easy Shiv Parvati Pencil Sketch

Material Used

  1. Pencils – Steadtler pencils are the best but Camelin will also work if you are beginner (Grade H to 6B)
  2. Paper – Brustro 200GSM drawing paper.
  3. Bending tools – Lot of beginners struggle to select blending tools. But you can start with very basic blending tools like cotton, tissue or eave earbuds. Some famous blending tools are Paper stumps and pencil drawing brushes to handle charcoal and graphite both.
  4. Erasers – Normal, Kneadable earser.
  5. Highlighters – White Gel Pen, Tombow Mono Zero Erase or eraser pencils.

Easy Shiv Parvati Pencil Sketch Step By Step Guide

Outlining

Outline shiv parvati pencil sketch, Easy shiv parvati sketch outlines

Outlining is the first step to start with it. But there is a one step which comes before drawing outlines and that is measurements and proportions. Decide proper ratio of actual drawing with respect to reference. After that start drawing outlines. start drawing faint outlines by understanding reference and then darken the outlines once got satisfied. So, outlining is the first step towards accuracy and attractive pencil drawing.

Check Accuracy of Outlining

This is a basic step after drawing outlines. Just check outlines properly because improper and wrong proportions will completely change end look. And you’ll regret for not checking outlines accuracy.

Start Shading and Blending Basic Objects

Shading and blending shiv parvati sketch

After outlining the next step is shading and blending basic objects. Here, above you’ll see we have started shading and blending with hairs. This step is important because it adds life to pencil drawing. You can use charcoal if you are proficient or graphite to make your task easy. Here, we have used graphite pencils in grade of H to 4B for shading and blending. It’s like adding layers on layers. First do basic light shading then add darkness in required areas and at the end blend it with cotton or blending stumps.

Creating Depth and Dimension

shading and blending

Shading is the real magic of pencil drawing. Use different pencil grades to add depth and create realistic shadows. Blend and smudge the strokes to achieve smooth transitions between light and dark areas. This procedure will give your artwork a three-dimensional feel. This is important step of easy shiv parvati pencil sketch tutorial.

Adding Final Touch and Highlights

Easy Shiv Parvati Pencil Sketch, easy shiv shakti pencil sketch
Shiv Shakti Pencil Sketch

Add some final details to make end results more attractive. After shading and blending all objects or different parts of drawing it is necessary to add final touch. You can do it by erasing unnecessary outlines, adding more darkness to some edges and Adding highlights to some specific areas to add living touch and shiny beauty in a drawing. A you can see in above image we added highlights on some areas by using eraser and white gel pen. So it’s done final drawing is in front of you hope you have enjoyed our easy shiv parvati pencil sketch tutorial.

More shiva sketch ideas..

Download Easy Shiv Parvati Pencil Sketch

Click below link to download…

Download Shiv Parvati Pencil Sketch

FAQs

Yes, 200GSM paper is good for sketching or pencil drawing. Artists use 140-300GSM paper range for pencil drawing.

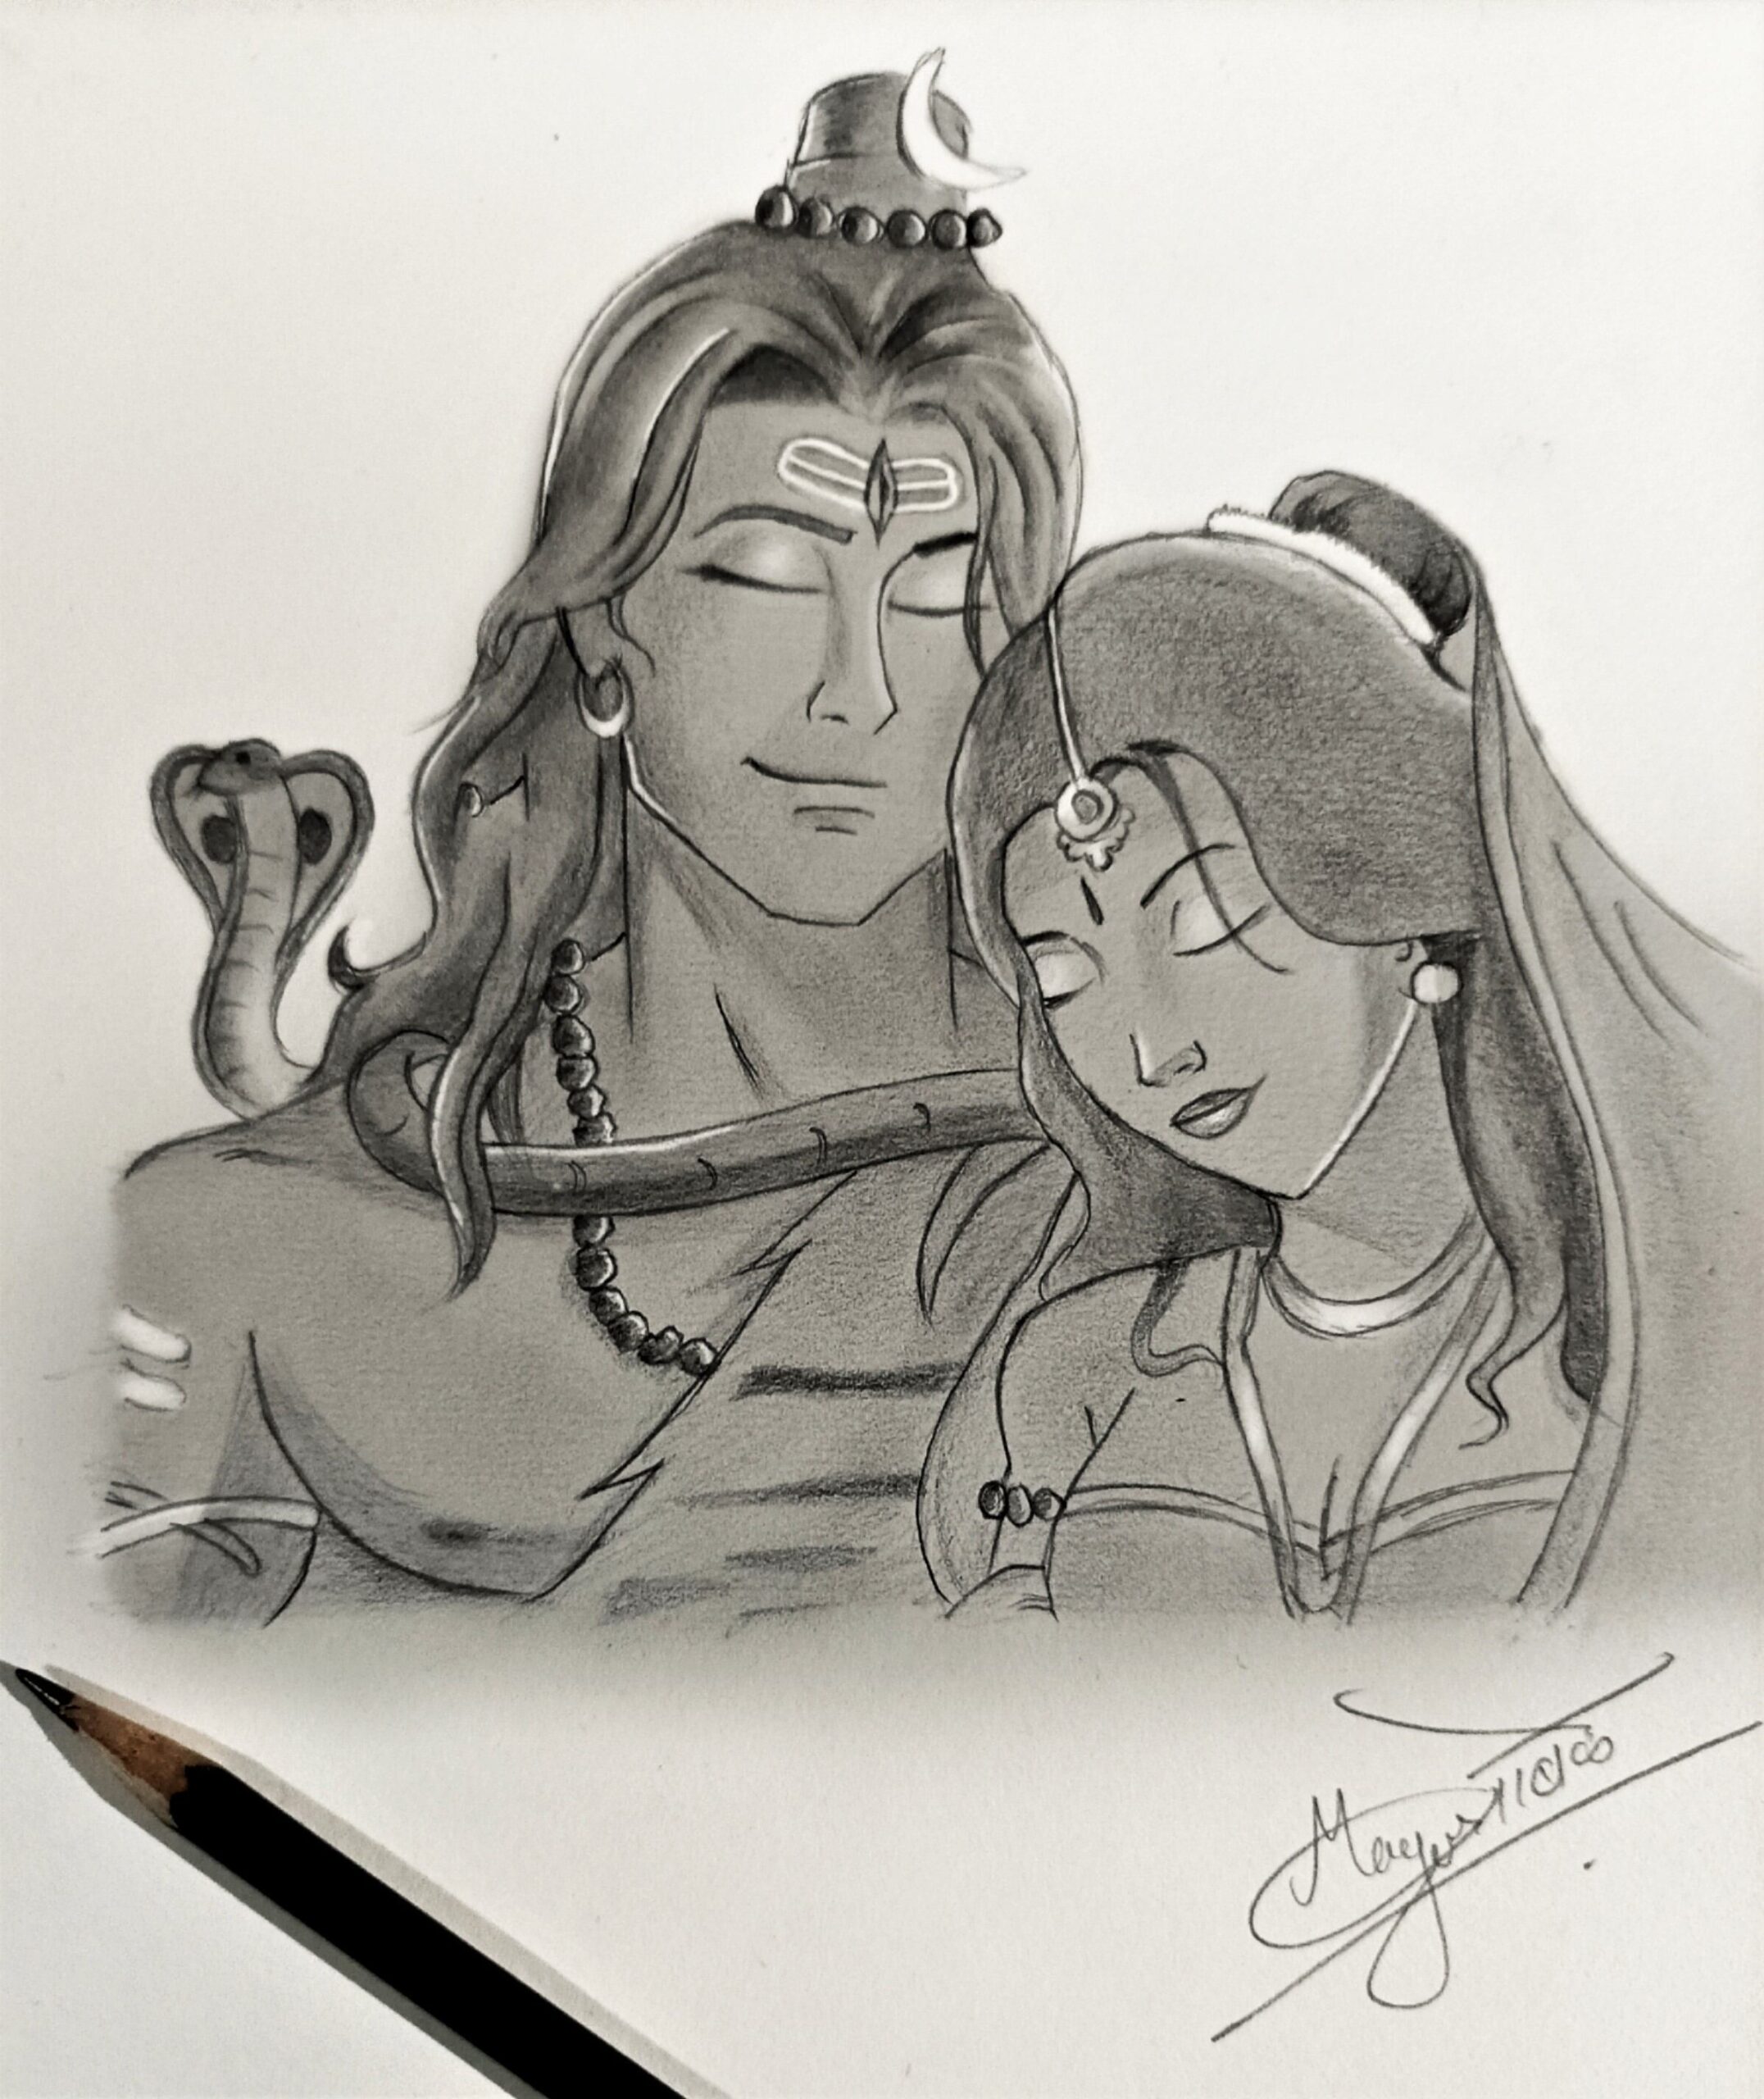
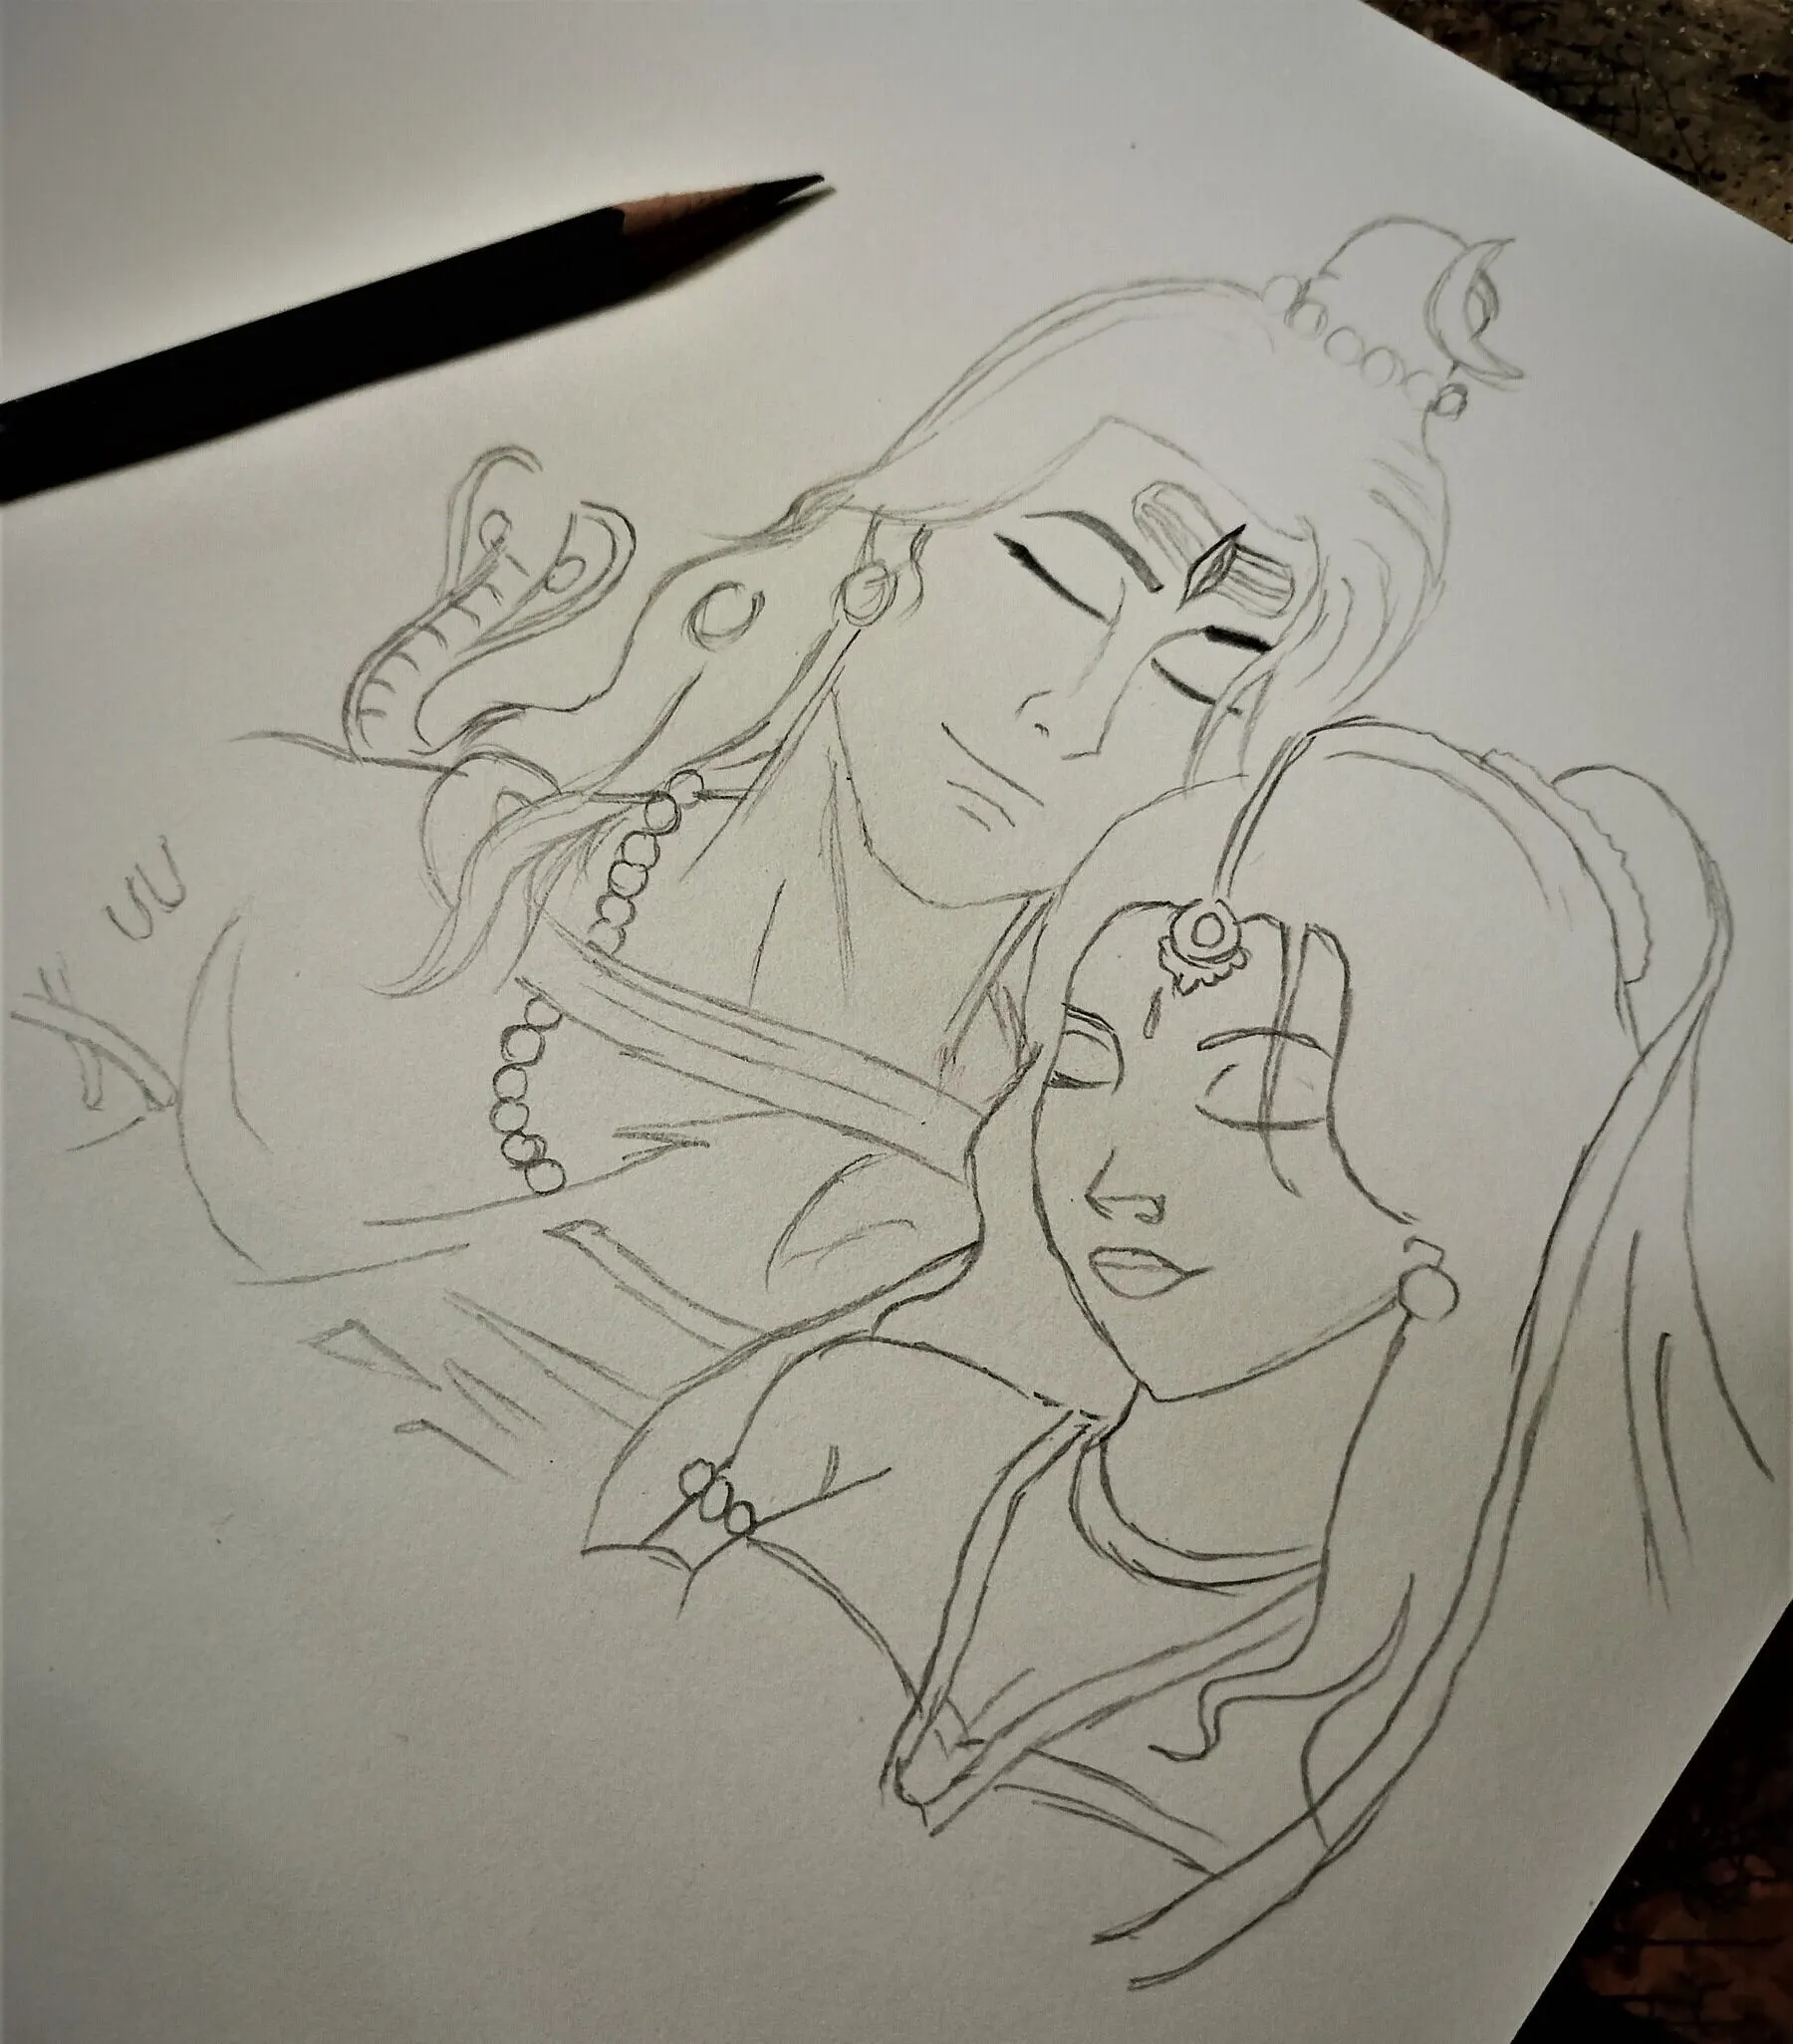
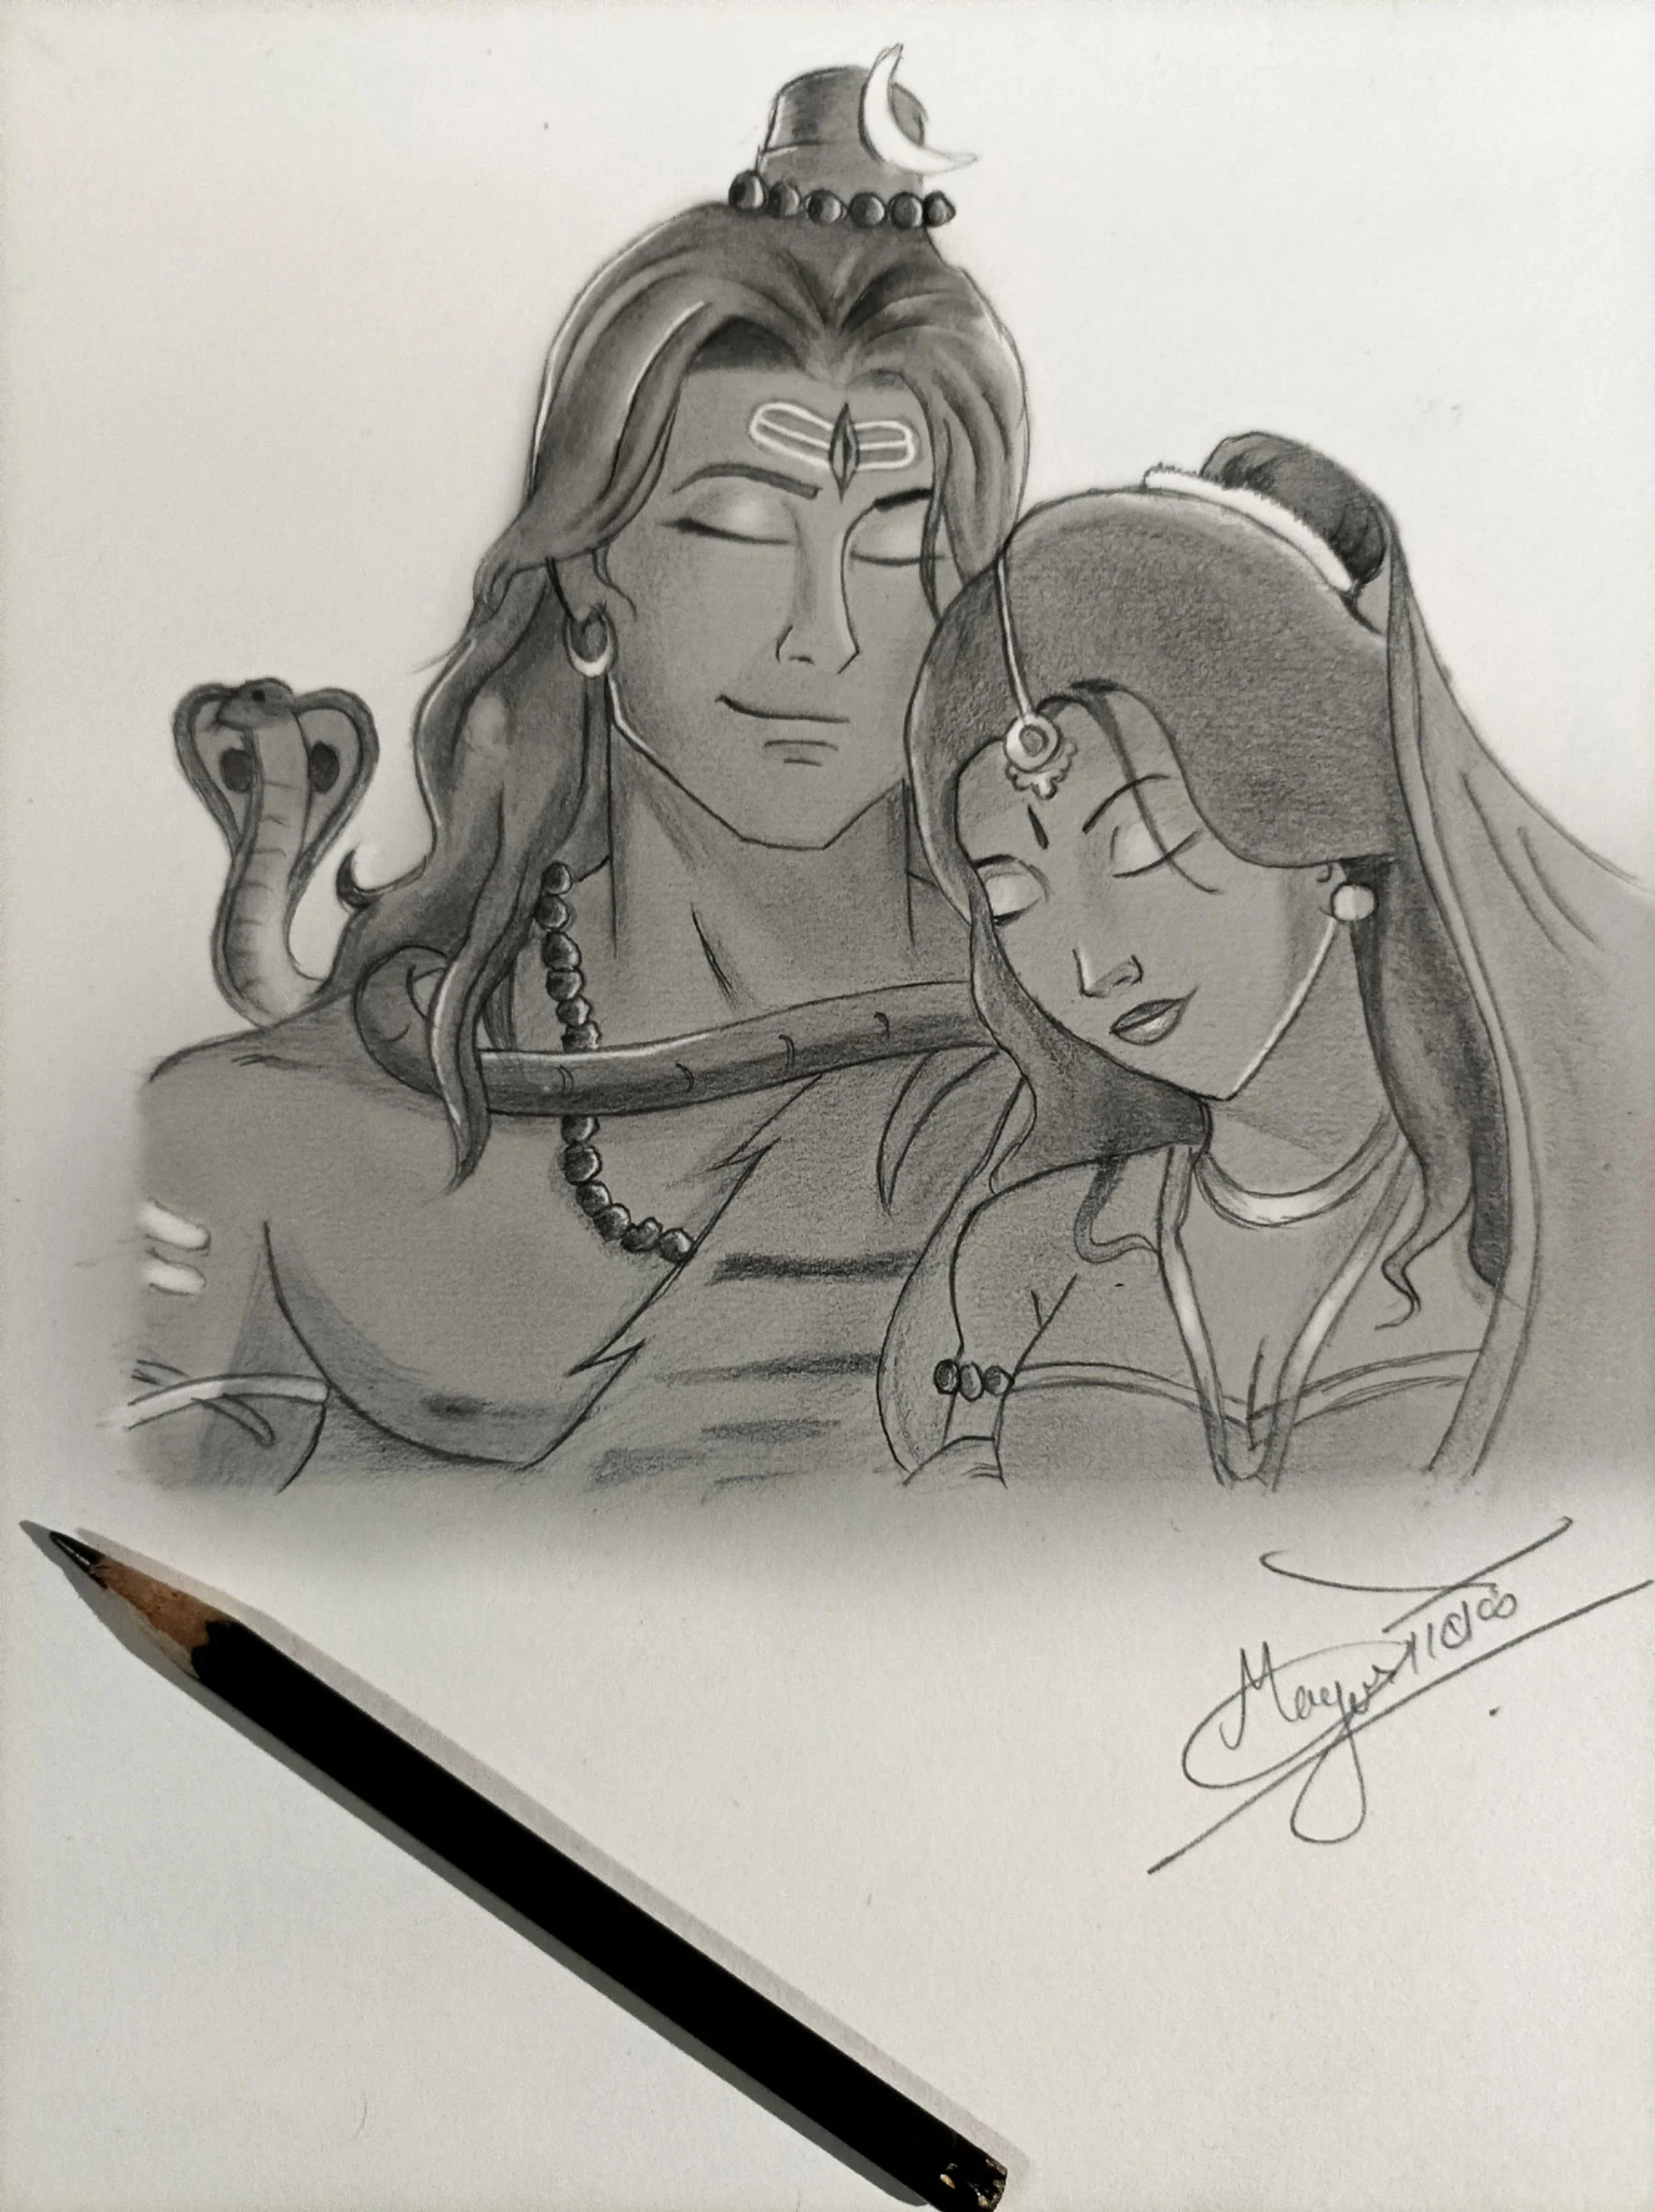
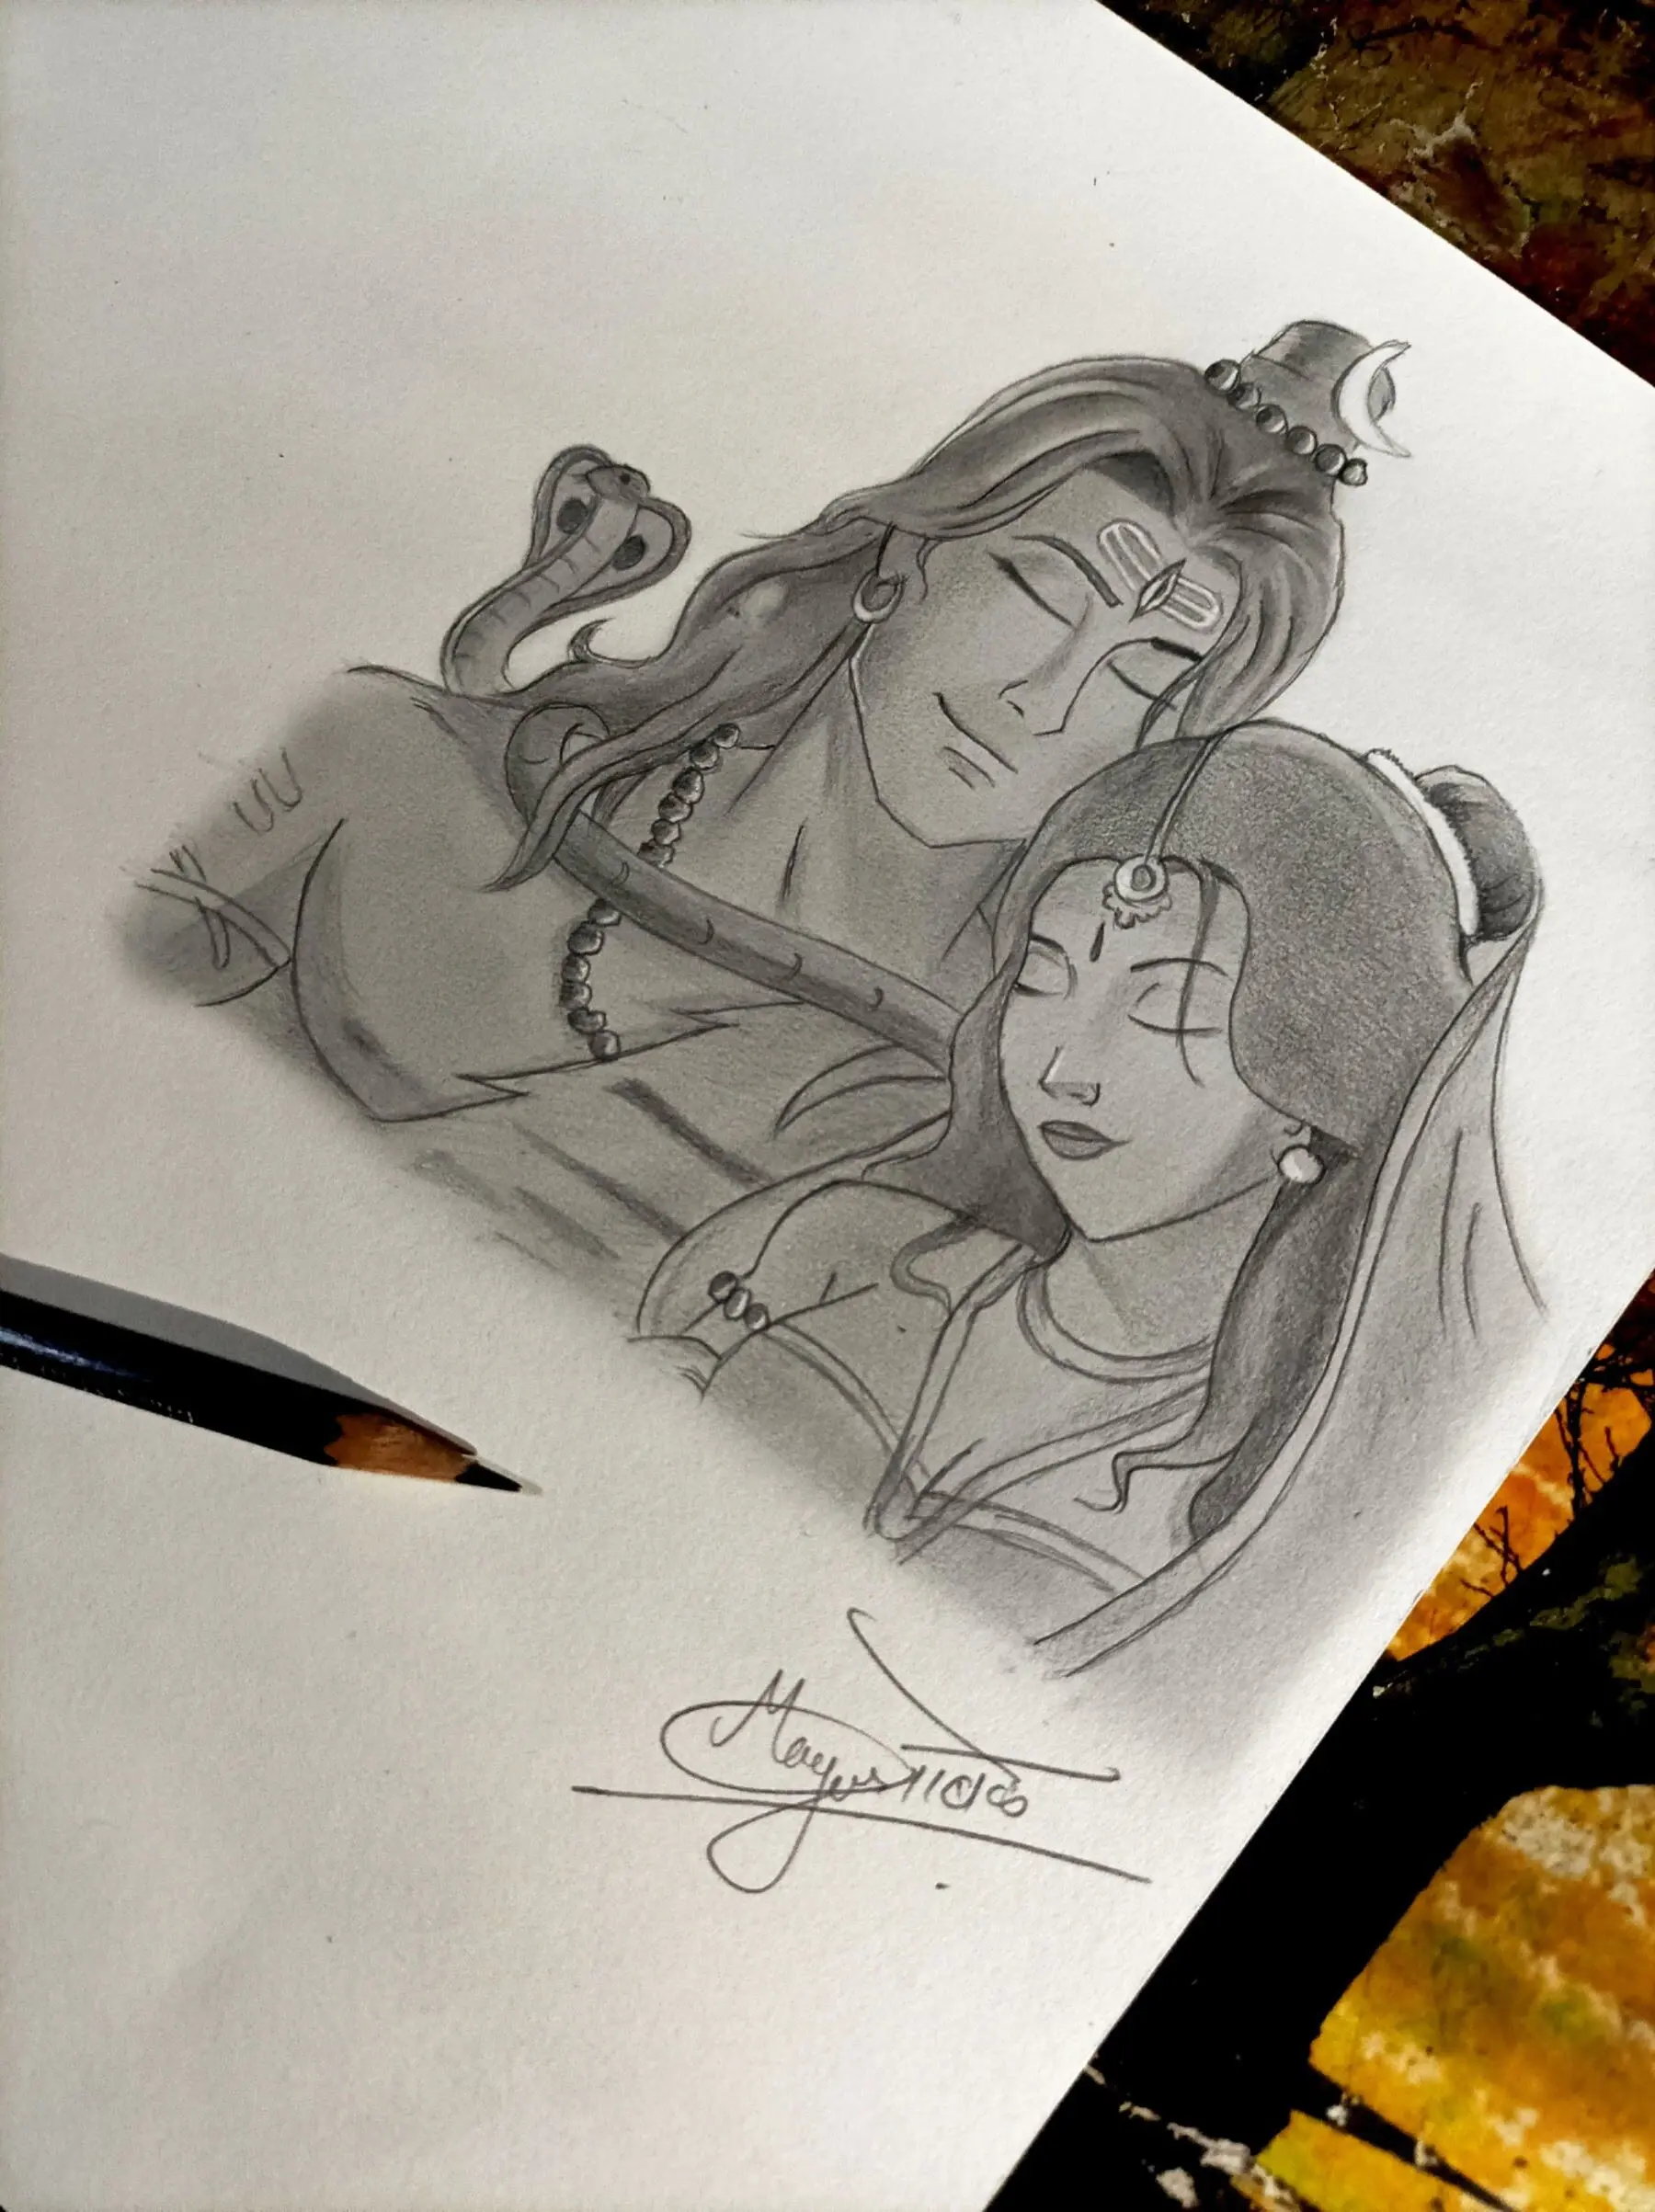
Grade of pencil simply decides darkness of graphite or charcoal used in a pencil. Pencils will be softer in nature and darker on paper if they are of higher grades. H grades (like H, 2h, 4H) use for lighter pencils. and B(2B, 4B, 6B) grades for darker pencils

Leave a Comment

Your email address will not be published. Required fields are marked *

Scroll to Top